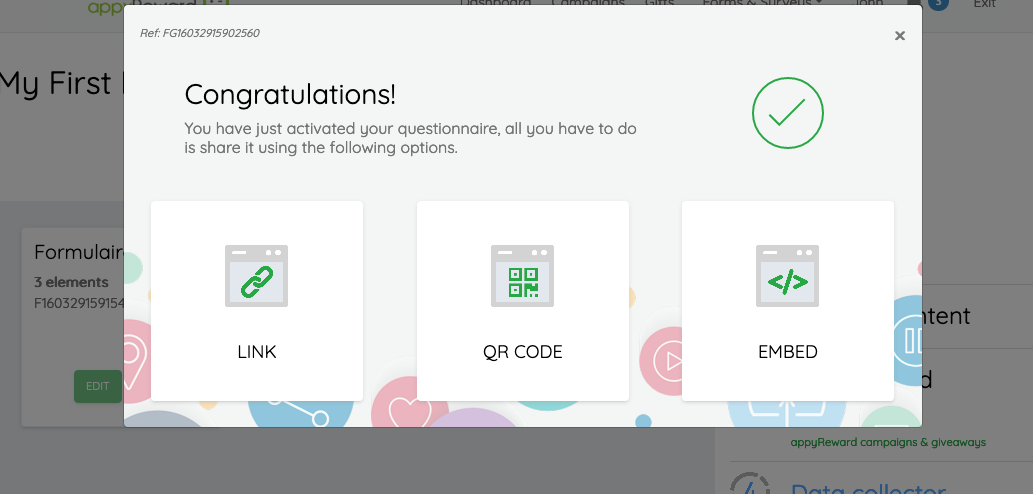
Forms & Surveys - Collect data and reward respondents
Mike
Last Update 5 jaar geleden
1) Go to "Forms and Surveys"
First configure your personal data storage
All your data (forms, surveys, respondent data) is stored in a space dedicated to your account
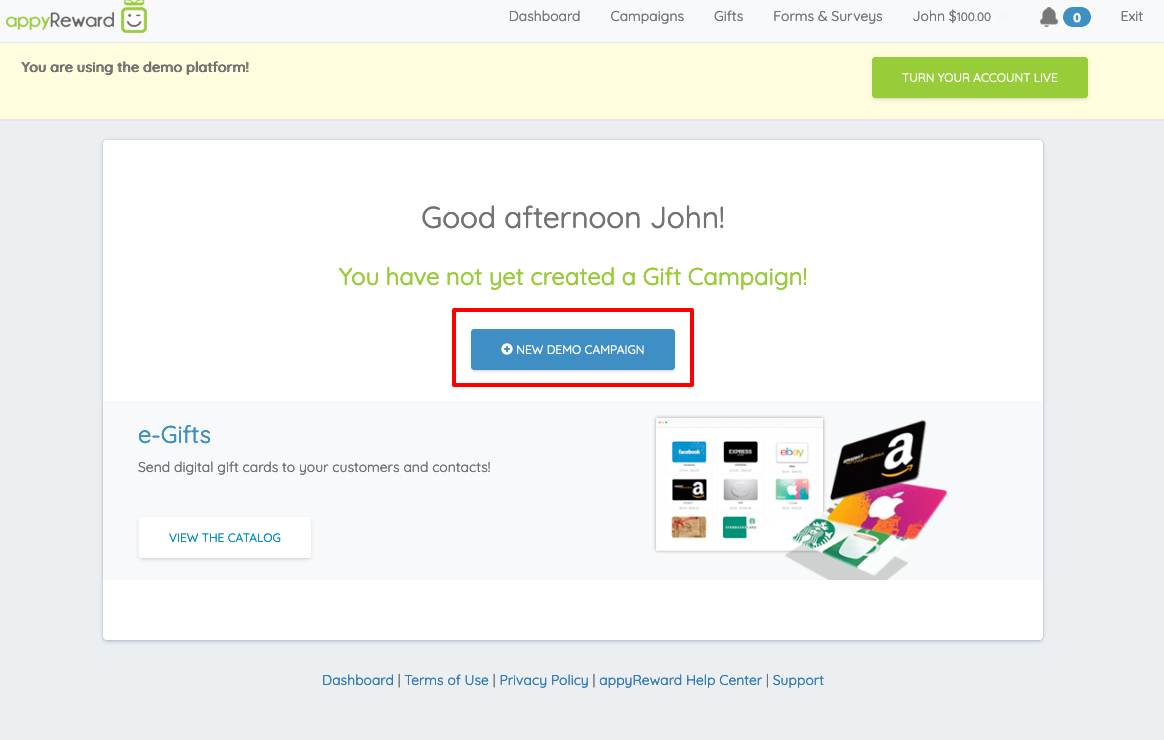
2) First configure your personal data storage
All your data (forms, surveys, respondent data) is stored in a space dedicated to your account
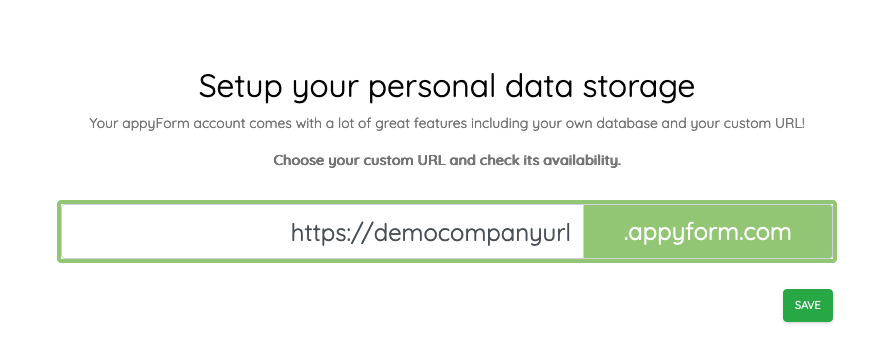
It may take a few minutes. Wait for the validation message to appear.
3) To create a form or a survey, go to "Forms and Surveys" then select the one you want to create
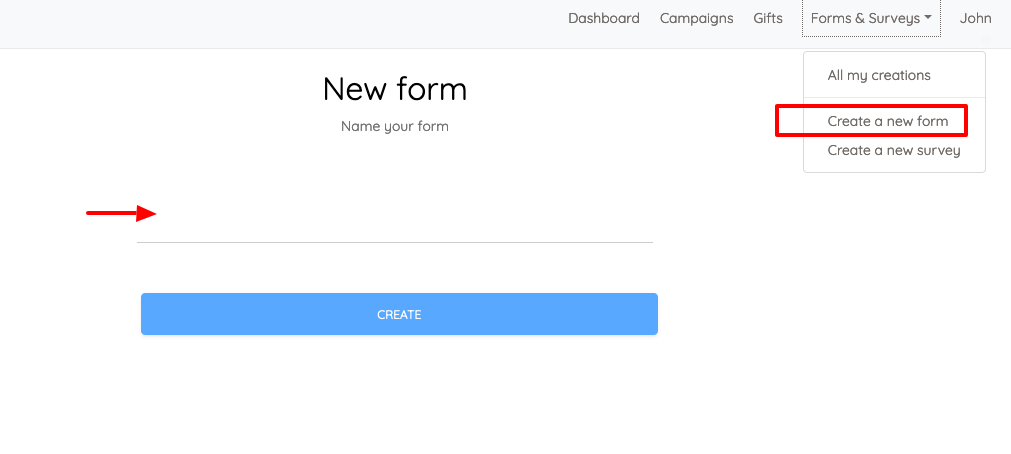
4) Name your form then click "CREATE"
5) Add fields to your form
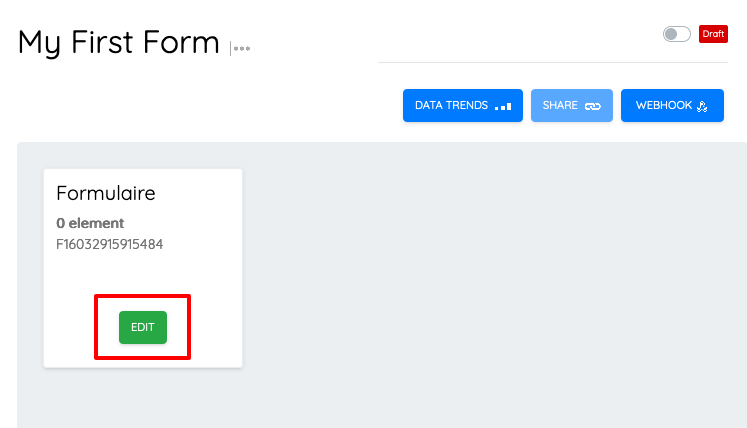
- Click edit form the Steps view (Note that forms only contain one step and surveys contain multiple steps)
- Drag and drop fields you want to add to the center of the view to build your form
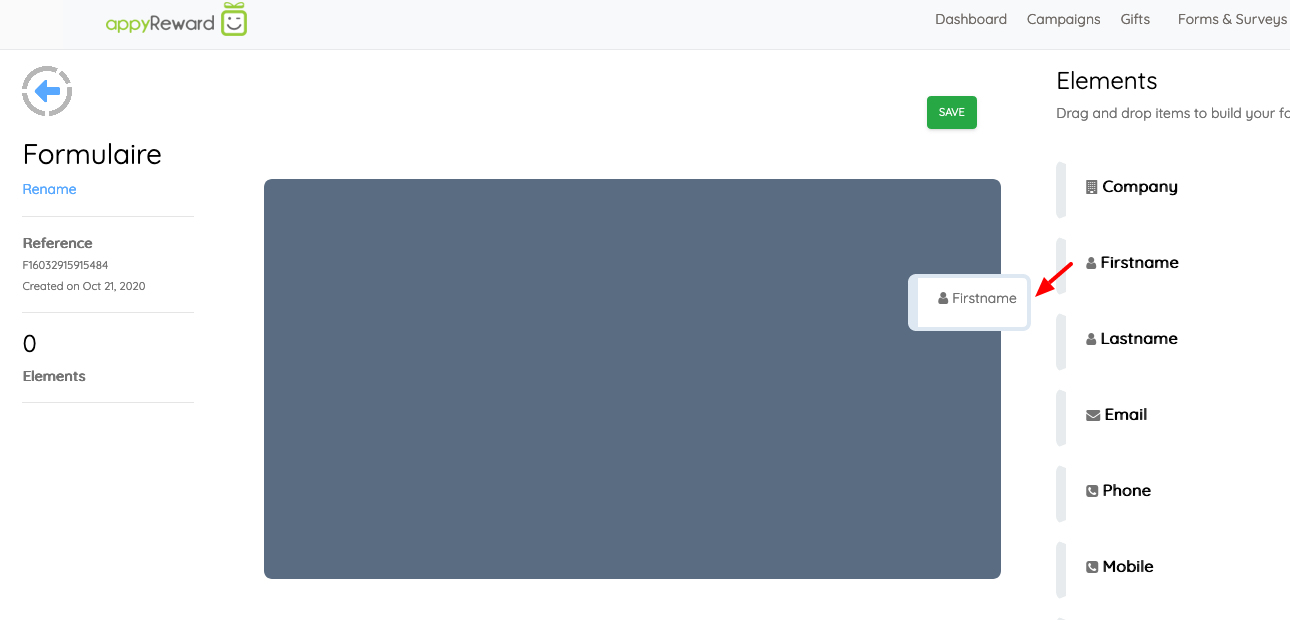
- Save your form then go back to the configuration view to continue

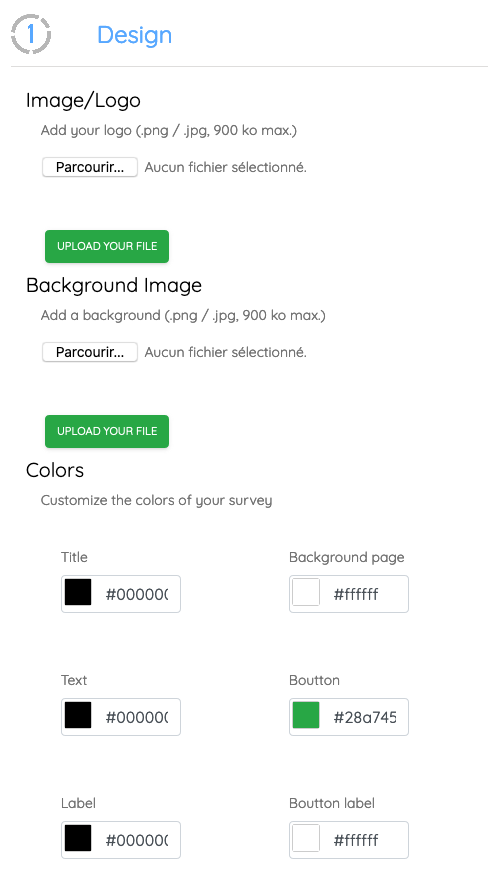
6) Define the design and the content of the landing page
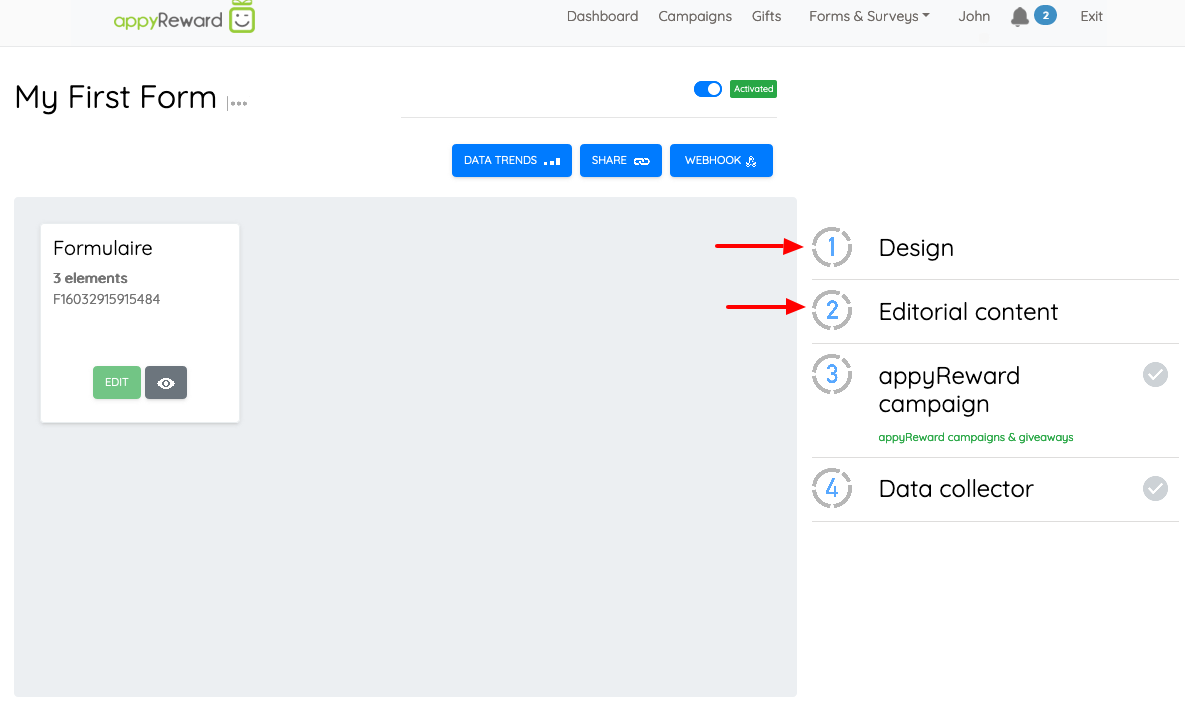
- Add your logo and define the colors of each element (background, text, button ...)
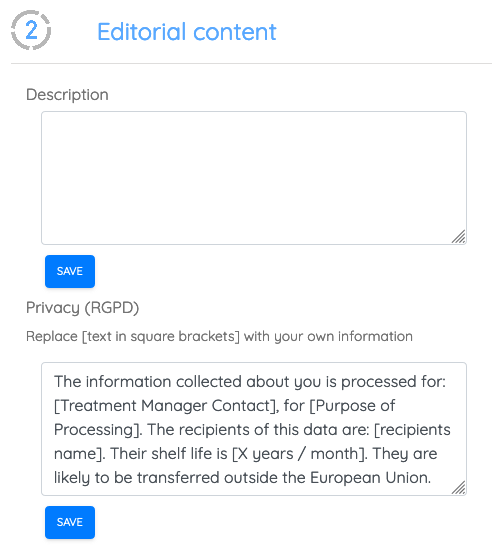
- Define the content you want to display at the top and bottom of the landing page (Above and below the form)
7) Reward respondents
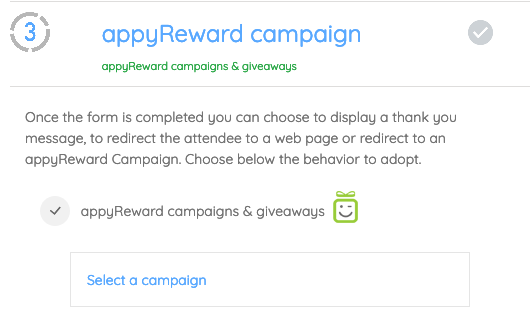
To reward respondents you need to create an appyReward Campaign and apply it to your form
- Click on "Select a campaign" and select one if it already exists or create a new one
Each time the form is filled out*, the respondent will receive an email with either the Gift access link or the participation link for sweepstakes and Instant Win Games, depending on the type of campaign you created.
Note that you will be able to customize the respondent email at the last step of the campaign creation.
(*) Make sure that your form contains an email field
8) Data Collector Configuration
This feature is very useful in case you want to collect respondent data. By activating this option, the Firstname, Lastname and email data will be added directly to your ActiveCampaign contacts. You will be able to recognize them using the tag. The tag will be the name of your form.
- Data Collector Configuration
Go to the 4th step and click "Put enable".
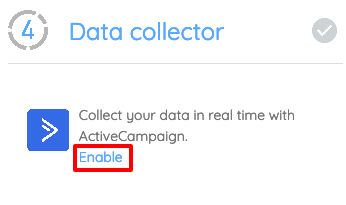
A new tag will be created in your ActiveCampaign account when you put your form live. Each contact added to your ActiveCampaign account will have this new tag named with the name of your form.
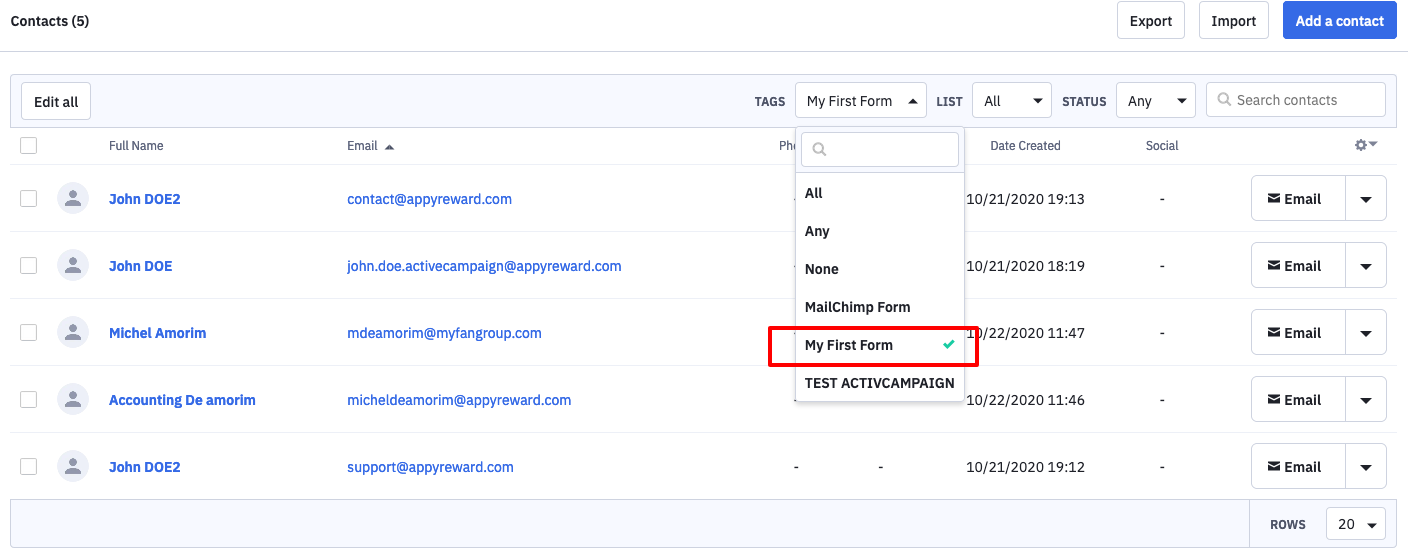
All field data is also saved in your space and can be downloaded in CSV format.

9) Share your form
Once you have created your form, you need to activate it by activating the Activation button.
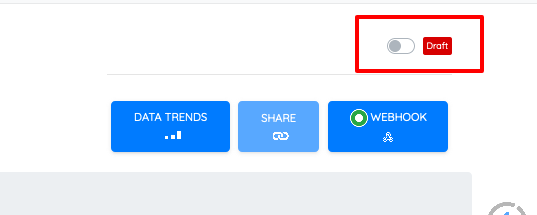
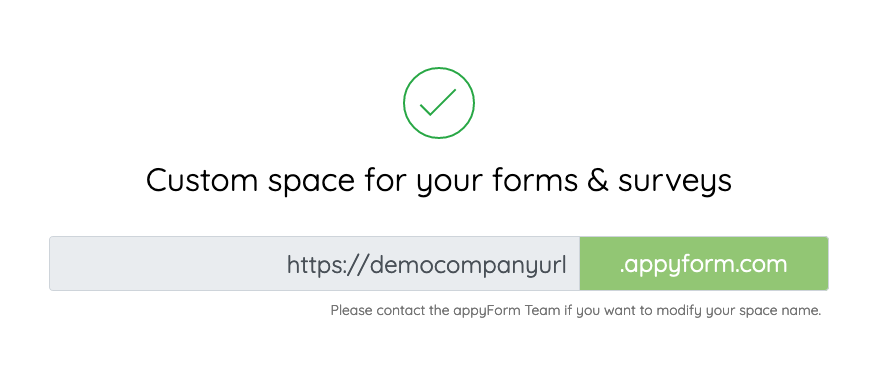
10) Copy and share the link of the form
- Select the option you want to use to share your form. You can copy the web link, download the QR code that gives access to your form, or embed the form into your own web page.
